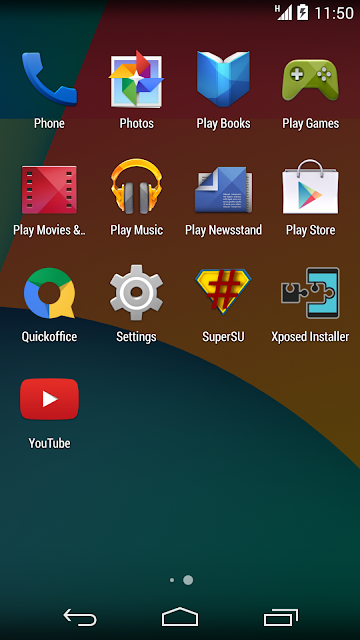
For so many people, buying a new smartphone is not an option due to many reasons but that should not limit their ability to use the latest in software updates with respect to android operating system.
Tecno F7 is one of those Tecno android phones released to years ago, still running the outdated android jelly bean, while there is kitkat and lollipop already on so many devices. However, if you are one those people with the Tecno F7 and you want to go straight to android KitKat 4.4.2, this tutorial is for you. This tutorial is very easy to follow and very easy to accomplish provided you follow the instructions. However, as a disclaimer, you are doing this tutorial at your own risk and we are not liable to any damage it caused to your device. At the end of this tutorial, you would have successfully loaded the Nexus 5 v3 KitKat ROM on your Tecno F7 device.
Requirements
- Rooted Tecno F7 (A+) smartphone
- Internet Connection
- Free SD memory card
Compatibility
- Build 7, 49, 18 & 42
Features
- Floating Call Window
- Android 4.4.2 KitKat
- Build.Prop Tweak
- Transparent Notification Bar
- KitKat style UI
- Stable ROM
- Init.d support
- OTA Updates
- Xposed Support
- Preloaded useful apps
Download ROM : Nexus 5 v3 KitKat ROM for Tecno F7
Download Sound Patch: Sound patch to fix sound problems
Steps
- Backup your smartphone before flashing. Personally i use Titanium Backup app which is very good.
- Transfer the zip file you downloaded to your SD card. Do not extract the zip file
- Install ROM Manager which helps you to install the CWM or TWRP needed for the recovery
- Enter recovery mode (TWRP or CMW)
- Scroll down to Wipe User Data and wipe it
- Go to Advanced Option and clear Davik Cache
- Go to Mount and Storage
- Format Data/Cache and System
- Locate your downloaded ROM zip file
- Install zip file from SD card
- Wait till the flashing is done
- Reboot phone. This may take up to 5 minutes
- If you have problem with sound, just transfer the sound zip file to your memory card and flash, don't wipe, just flash the sound zip to it.
If you have any problem with this guide, let us know in the comment section and we will do our best to help out.
Like our Facebook page and follow us on Twitter for more smartphone gist.
Credits and Testers
Google for Nexus
Team Eclavu
OHD MOD section
OHD Official
XDA
Source: Android Villaz

Tidak ada komentar:
Posting Komentar